eero ATA setup guide
Last Updated: Tuesday 1 Sept 2026
To use Voice over Internet Protocol (VoIP) with your eero, you’ll need an eero Analogue Telephone Adaptor (ATA). Here’s how to set up your VoIP phone service.
Connecting the eero ATA on network
What you’ll need:
an eero router
an eero Telephone Adaptor
a landline phone
Setup steps:
Connect the eero Telephone Adaptor to the USB-C port on the back or underside of your eero router.
Connect the router’s power supply unit to the open USB-C port on the Telephone Adaptor.
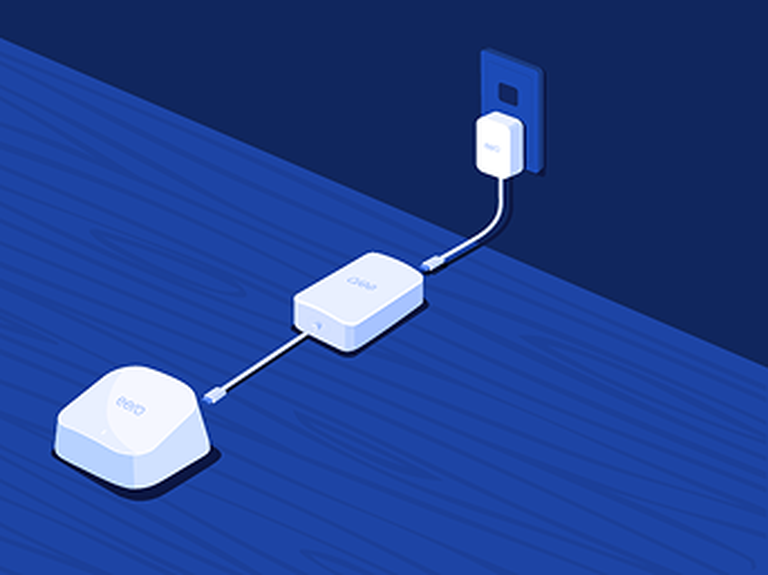
Your eero router will reboot after being plugged into the Telephone adaptor and power supply unit. You’ll know the eero router is reconnected when the LED changes from blinking white to solid white, but this can take up to 90 seconds.
a. Note: eero Telephone Adaptor requires eero OS version 7.15.0 to complete setup. If the required version is not detected during setup, your network will be updated automatically during the installation process.
Connect your landline phone to port 1 on the back of the Telephone Adaptor. If you have multiple lines provided, also use port 2. The cable should audibly “click” into place when properly connected. Each port can support a separate phone line, allowing for two simultaneous calls when connected to a single adaptor.
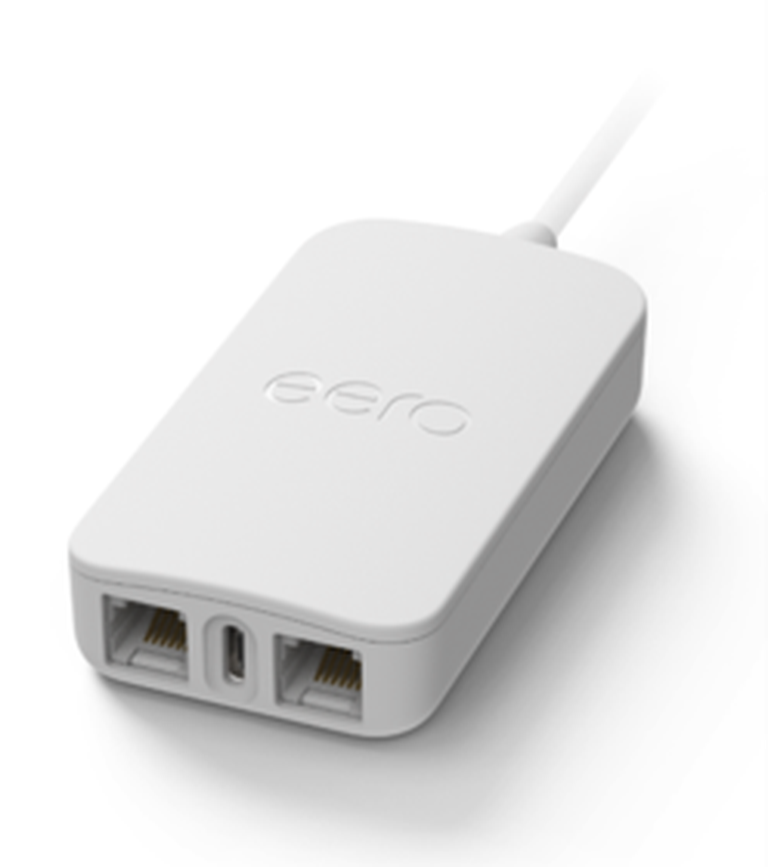
Remove the handset of the landline phone from its hook and listen for a dial tone. An audible dial tone is an indication of a successful connection.
You can confirm that the adaptor is active and properly installed on your network using the eero app. When the adaptor is connected to an eero router, a green 📞 icon will appear next to the eero.
Troubleshooting
Although the eero Telephone Adaptor is designed to be simple to install and operate, if you experience issues during set up, try these steps below:
Get in touch
If you are still experiencing issues with your eero Telephone Adaptor after reviewing the above steps, get in touch with us on LiveChat on our website or at 1300 880 905.
Was this helpful?